Bridget Visits Bertie

Bridget Visits Bertie

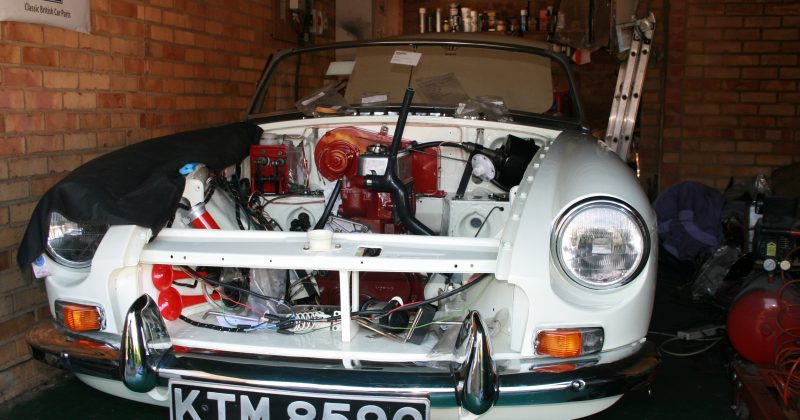
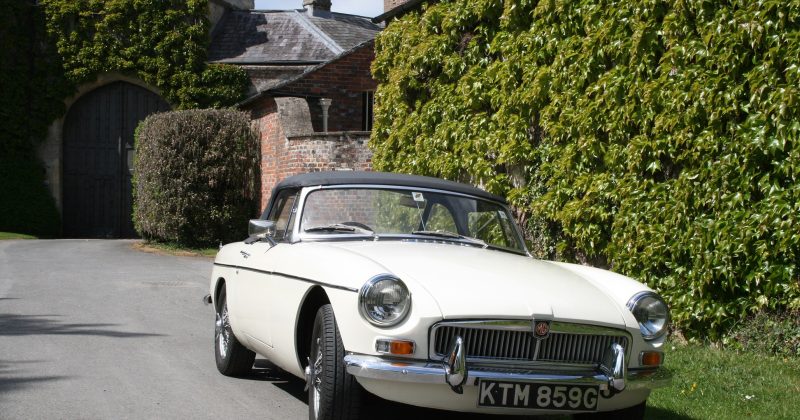
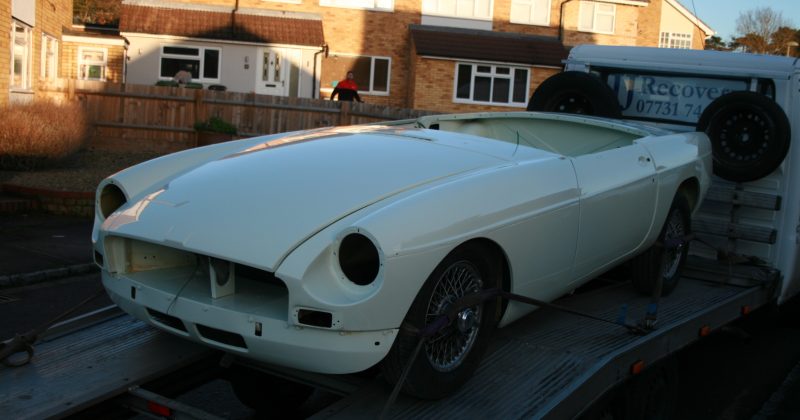
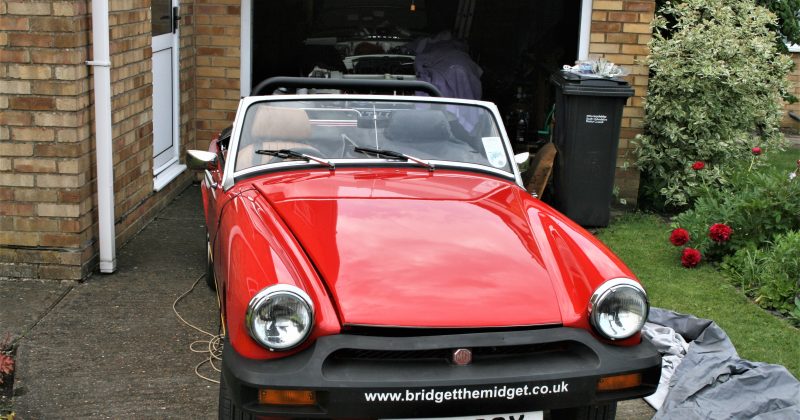
As Berties' restoration nears completion it was only a matter of time before Bridget visited to see 'first hand' the progress. The picture above shows Bridget in the middle of having her fluids checked ahead of her appearance at Silverstone for MGLive. Below are a number of pictures, some featuring both cars, others focusing on 'Bertie the B'. The engine is now complete and ready for firing-up. The original HS4 carburettors have replaced the Weber as I need to be able to adjust the fuel mixture quickly at the side of the road when driving on extreme mountain roads (altitude over 12,000 feet). All the electrical connections of Bertie's new loom were made and the power turned on. Only the side lights worked! I started going through all the circuits comparing them to the circuit diagram and gradually things began to work. When I flicked the left direction indicator the front left light blinked, together with the rear right light! Ideal...
Read More
On The Road in Six Weeks!

On The Road in Six Weeks!

At last! I am making progress with Bertie's restoration. Thanks to fellow MGCC members, Mike Parker and Dave Kato, the power train is back in and the windscreen is finally installed. Initially I did not appreciate that installing the windscreen on the MGB Roadster is a two man operation. The design is identical to the MG Midget and I had replaced Bridget's several times, but I wasted a whole week trying to install Bertie's before several experienced people informed me that I would need help. With both of these tasks completed I can now get on installing the dash, connecting all the electrical items and installing the new interior. I can also start hanging all of the engine components back on the motor, such as the original HS4 carburettors, oil filter and electronic distributor. I have decided to replace the Weber carburettors with the HS4's because I may need the facility to change the fuel mix 'on the run' and that cannot be done...
Read More
Best Laid Plans

Best Laid Plans

I know that in the previous post I said that I would start Berties' rebuild from the back and work forward. However, the following morning I changed my mind and just tinkered! It is not therefore surprising that in the past two months little progress can be reported. I have had considerable difficulty, in the winter climate, to engage any enthusiasm. That said, I have completed most of the pipework, installed and removed the fuel pump twice and taken the decision to upgrade the braking ability of the car with the introduction of a 'Servo'. The pedal box has been painted as has the heater and the pedal box has been installed. New housing has been sourced and fitted for the two 12volt batteries, and they have been wired in parallel with the isolator switch fitted in the rear compartment. There have been several interruptions to the work schedule that were not within my control. A short health hiccup took out one...
Read More
Rebuild Starting Slowly

Rebuild Starting Slowly

Surprise, surprise, very little was achieved over the Christmas or New Year period. I have now though started Bertie's rebuild. Starting with the new wiring harness and the various brake and fuel pipes, I realised that I had forgotten the proper routing from rear to front! I then realised that, although when removing everything I was certain that I would remember the location where things go, I have forgotten. I soon discovered that the Haynes workshop manual, although generally very good, does not show every detail so I had to resort to the internet. I then found that there are photographs and videos of almost everything required when restoring a MGB, thankfully. So with the harness loosely in place the steering column was next. I decided to work from the rear of the car towards the front. So all of the rear lights were installed and connected to the wiring loom. This will be followed, this week, with the doors and interior items, excluding any...
Read More